


If you’re a Steam Deck user you have no doubt considered expanding the space available in the system to hold more games and ROMs, especially if you have the 64GB unit. Adding a microSD card is one option, especially as a memory card can provide enough performance to offer relatively good game load times. Another option is to add external storage via USB which can give better performance. This is still not as fast as a direct PCIe NVMe connection and it requires bringing along additional accessories when not docked, but it is viable. However, it’s also possible to upgrade the internal storage with the proper hardware and tools.
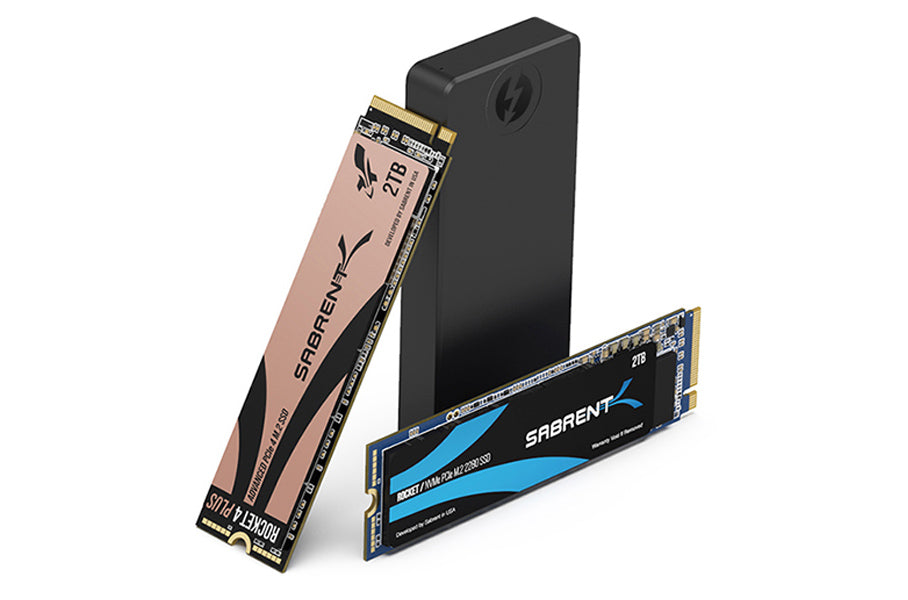
The Steam Deck requires drives in a specific form factor, that is M.2 2230 or 22x30mm, that are also NVMe PCIe. Until recently it has been difficult to find drives this short in the retail market. Double-sided drives are not ideal for the Deck and while modifications may allow 2242 drives, it is not recommended. The single-sided 2230 drives available tend to be OEM, that is they come with pre-built machines and laptops and have to be pulled and sold second-hand. As such their characteristics and warranties are uncertain. Luckily, we have developed and released the retail Rocket 2230 and Rocket Q4 2230 in a variety of capacities to make upgrading the Deck’s internal storage much easier.
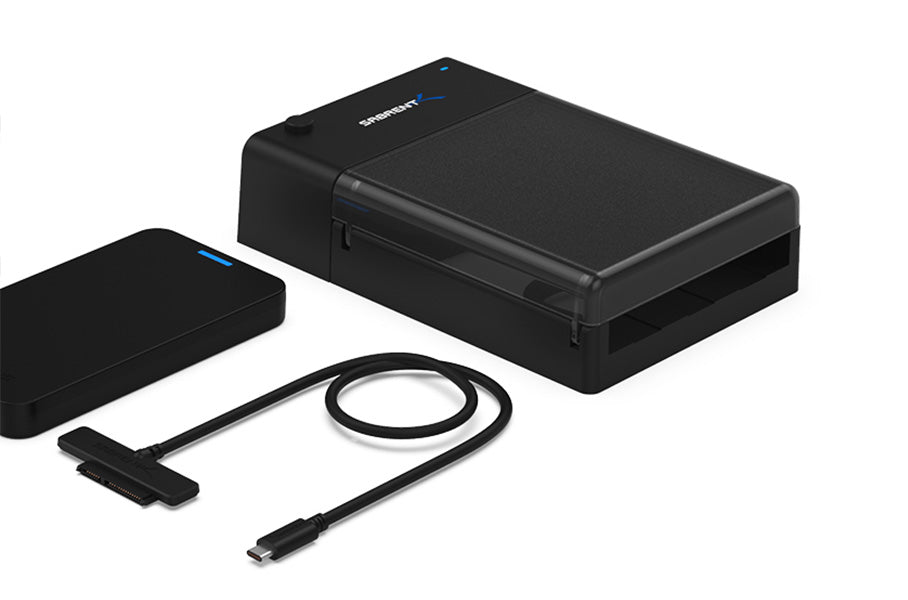
This upgrade is doable by most people if you take your time and prepare properly. There are plenty of guides, video- and text-based, available to assist you, although we recommend starting with iFixit's guide. Their Essential Electronics Toolkit would be an excellent choice for this operation. Be sure to read all notes and warnings on the guide before beginning and be careful not to disturb internal parts during installation. The physical process itself is not difficult, it just takes some time. You will also be able to make use of the old drive if so desired with adapters, enclosures, and some system M.2 slots, although an extension adapter may be required for some.
On the software end, Valve has Steam Deck Recovery instructions available to show you how to download and prepare external storage to reinstall SteamOS on the new drive. If there are files you want to save from the original drive, copy them over before replacing the SSD. If you intend to keep the entire drive contents as-is you will need appropriate cloning software like Clonezilla but can otherwise use Valve’s instructions for imaging with balenaEtcher. Do not format the original drive until you are sure the new drive is operating correctly as the precise cloning methodology required can vary depending on how you have the original system set up.
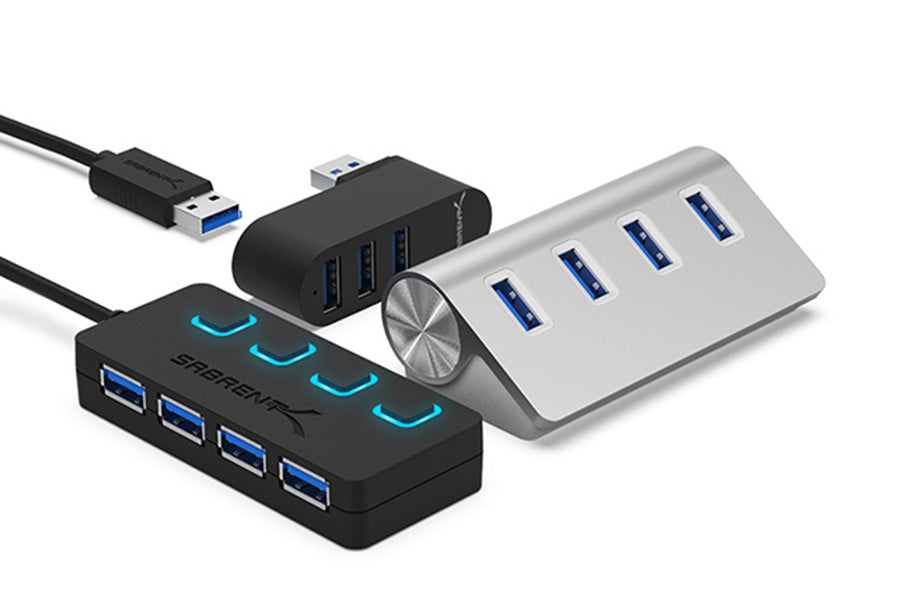
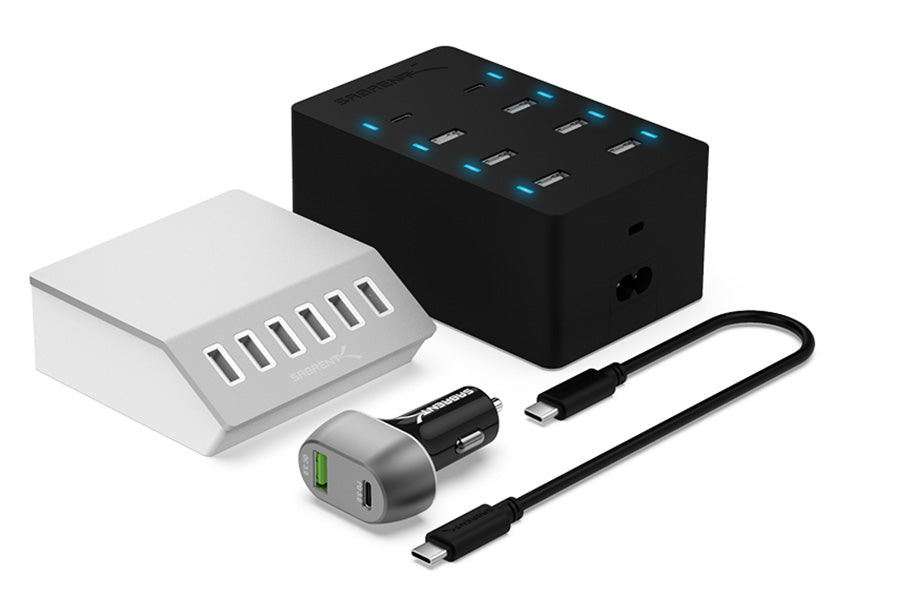
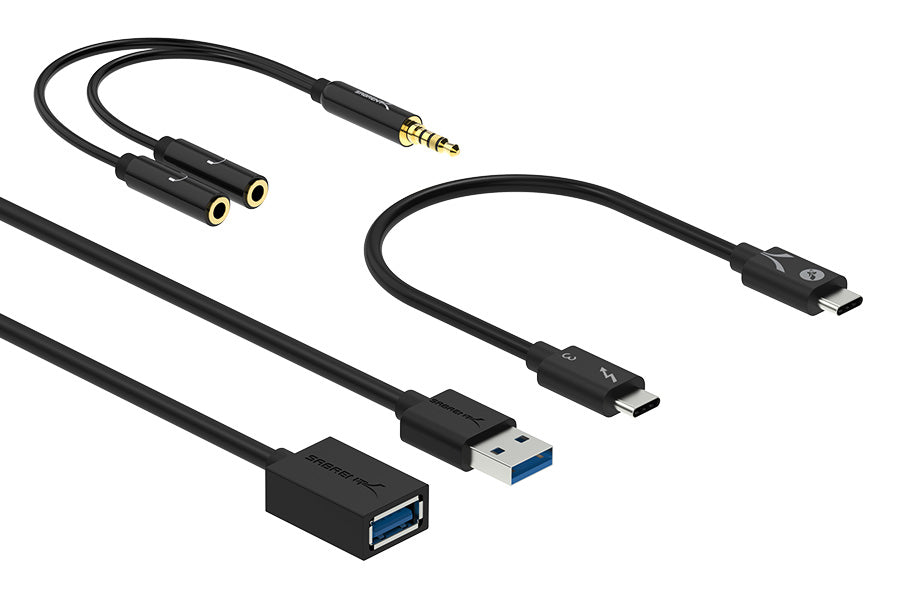
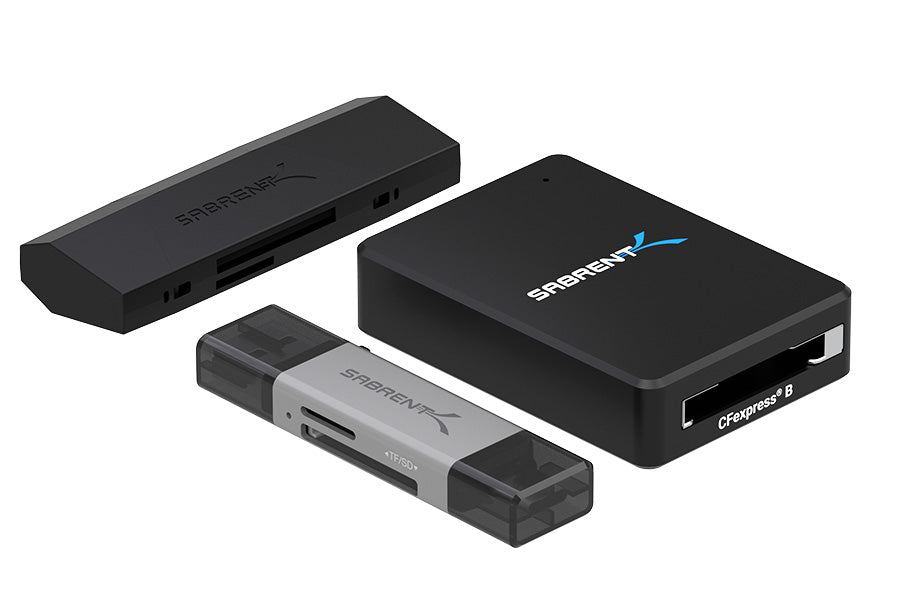
If you need a hub to connect your installation storage, our HP-TC5P, HB-TC6C, HB-HUCR, and HB-UHPN will work just fine. We also have a USB Type-C to OTG Card Reader that may work with SD and microSD cards. Even easier, we have a USB-C Docking Station designed for the Steam Deck, with more accessories and options on the way. A simple USB-C to USB-A adapter will also work if you do not have a USB-C capable flash drive. We also sell external USB-C SSDs like the nano V2. Any of these should work for you.
Good luck and enjoy your additional Deck storage! Also keep your eyes open for more Deck products from us in the near future and check out our video on the Rocket 2230. For performance reference, see below:

Steam Deck 64GB (stock)

Steam Deck 512GB (stock)

Sabrent Rocket 2230 1TB