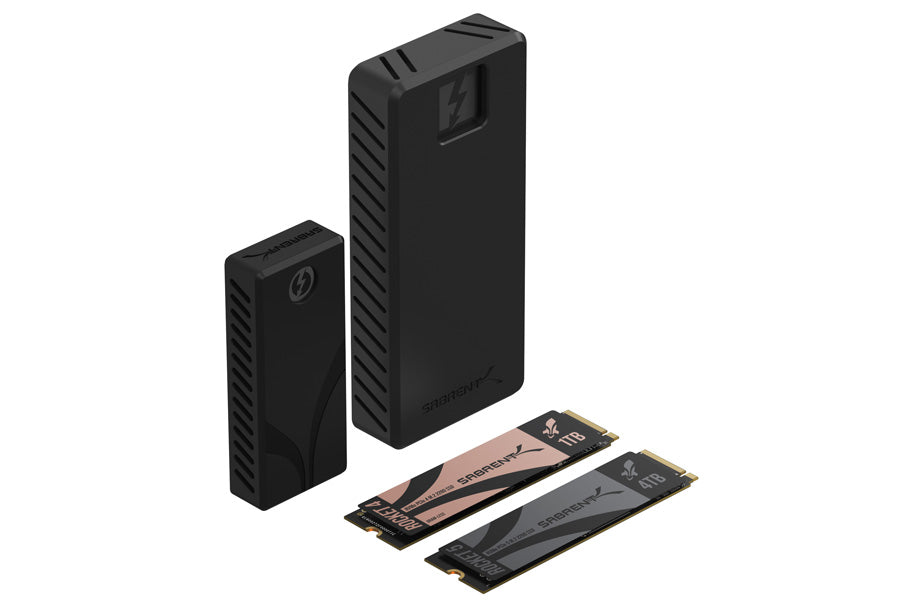
Have an extra Raspberry Pi lying around that you would like to use? Have you received one as a gift or have been considering getting one to tinker? Although diminutive, these devices have a ton of uses. It is certainly possible to buy kits and other pieces of hardware, like a camera or sensor, to extend RPi functionality, but there are some basics that only require a bit of storage to start. The easiest and recommended way to begin is with a microSD memory card, although the amount of space you need depends on your intended usage. It’s possible to add external storage for larger projects via USB.
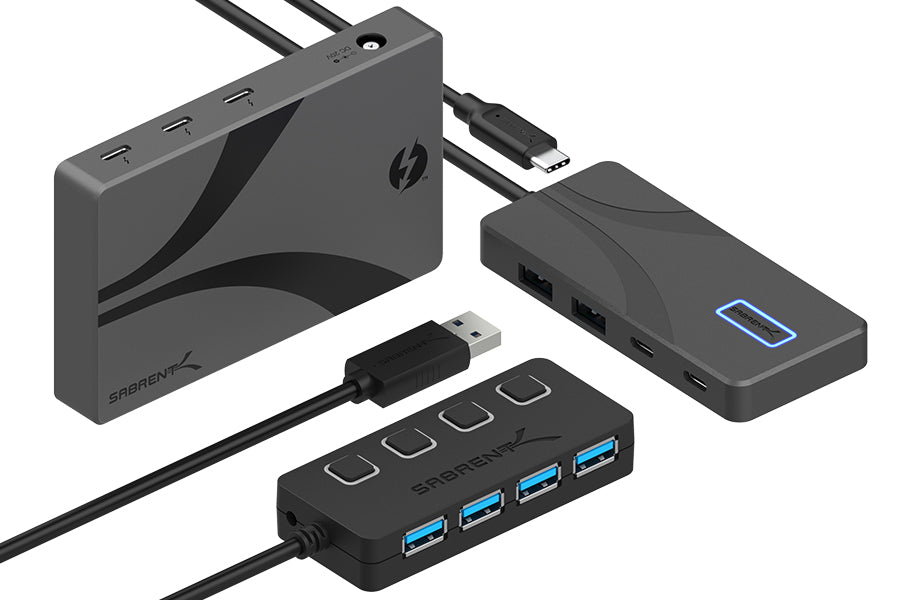
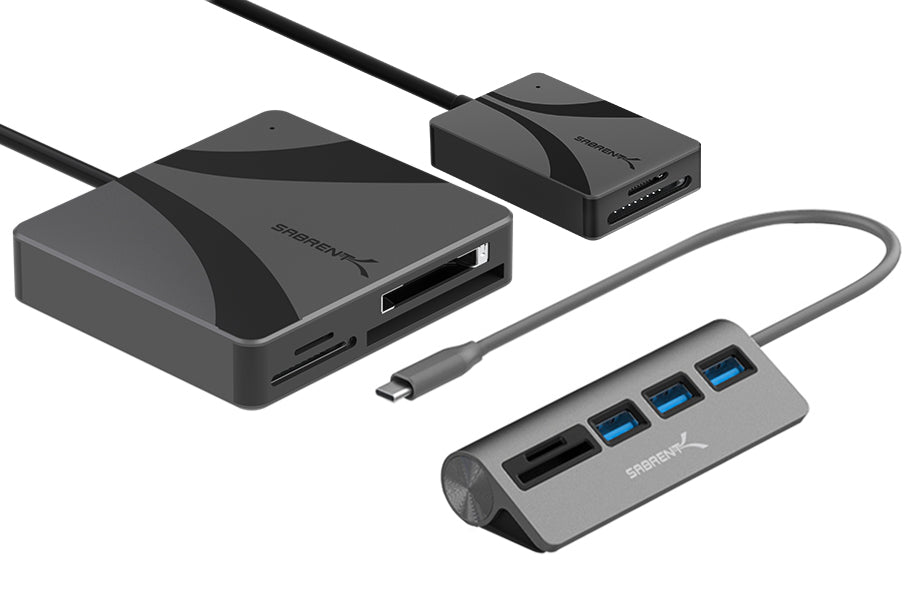
Next, you should travel over to the Raspberry Pi website so you can install the Raspberry Pi OS, previously known as Raspbian, which is based on Debian Linux. Download the Raspberry Pi Imager and run it with the microSD card attached, via adapter or card reader. There are many options for an operating system in the Imager but we recommend Raspberry Pi OS Lite if you want the leanest install, using the 64-bit version if your Pi is compatible. Next, click the gear icon to enable SSH and set a username and password so you can remotely log in, thus removing the need to hook the RPi to a display or input devices, although you may choose to do that with other options using USB ports or a hub. Configure WiFi, if necessary. Make sure the correct storage device is selected as it will be formatted.
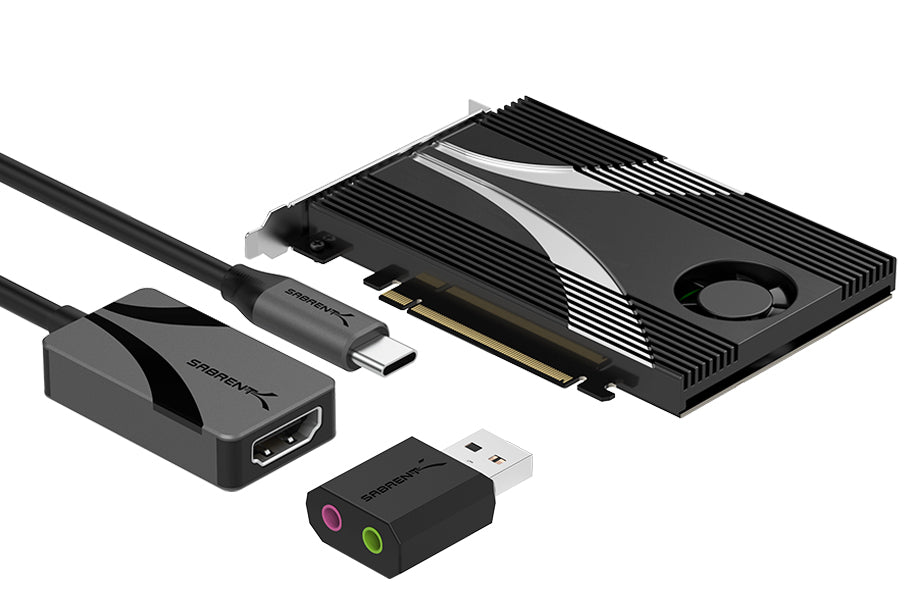
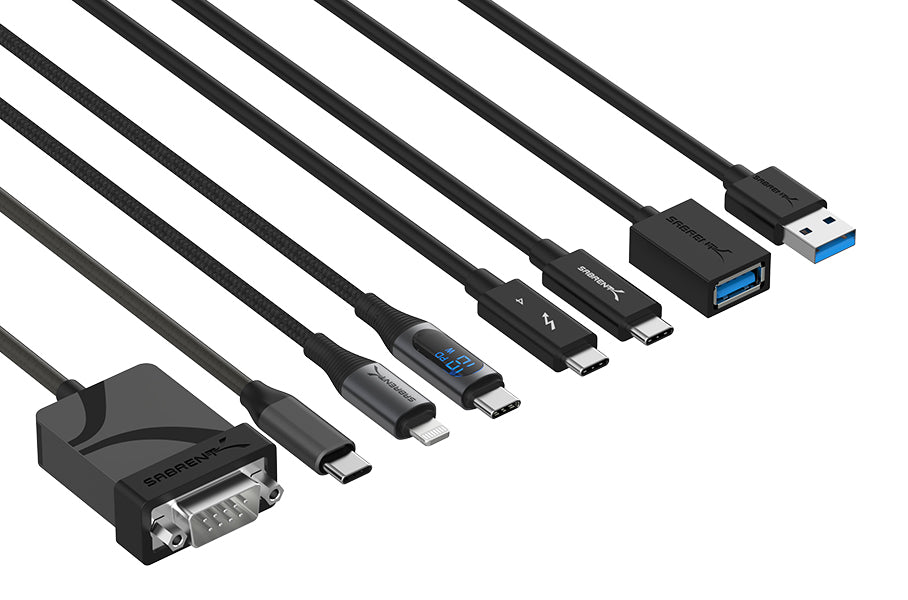
After the microSD memory card is prepared, place it into the RPi and power the device appropriately. After some time it will be possible to access the device via SSH over your network using a program like PuTTY. Once you have logged in, it’s good practice to update the system by using the commands “sudo apt update” and “sudo apt upgrade” before proceeding. It’s also possible to change device settings with “raspi-config” - if necessary. From here it’s possible to install a number of things to get good usage out of your RPi. You can also expand with accessories, such as enabling serial communication with the appropriate USB to RS232 cable adapter.
One popular use for the RPi is as an ad blocker and DNS server, with Pi-hole. This can be expanded with unbound for more advanced users. Pi-hole is a good starter project to get used to working with the command line and RPi. Adding some lists from The Firebog and Developer Dan is a recommend course of actions. For more options, it’s possible to run containers via Docker on the RPi. Instructions on how to install and run the containers will be available on the container page or in GitHub, with one example being changedetection.io, a method of detecting changes to watched web content. Another example would be freshrss which enables you to self host an RSS feed aggregator. Your RPi may have limited resources but there are many projects to be found!

