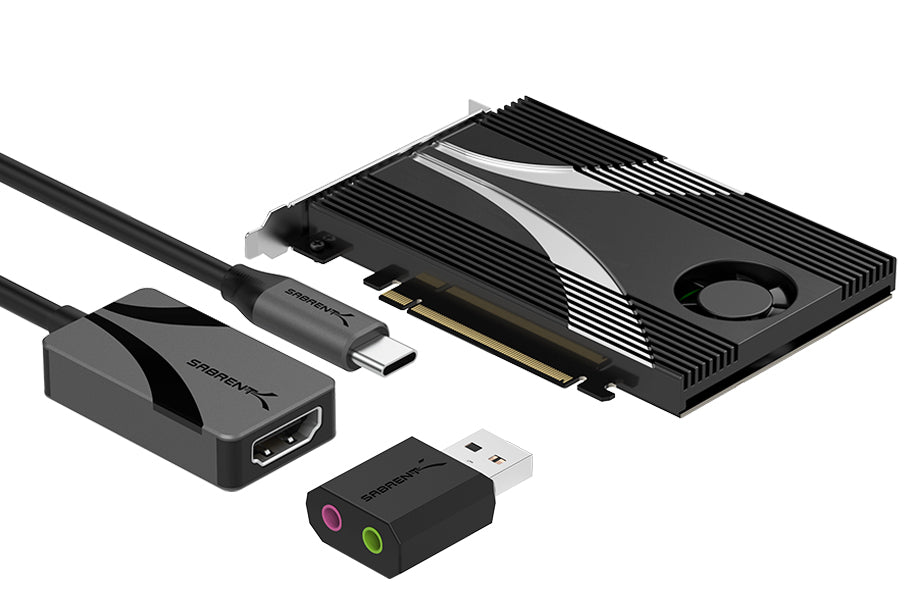
Nothing's more frustrating than getting a new M.2 NVMe SSD to spruce up your old system, only to find it's not showing up or booting. This is becoming less of an issue as modern systems have no trouble with PCIe and NVMe SSDs, but older systems - even powerful ones - can sometimes lack full NVMe support. In most cases these boards will not have any M.2 slots at all, so using an NVMe to PCIe adapter like our EC-PCIE is necessary. It's important to keep in mind that some M.2 slots may only support SATA or AHCI PCIe SSDs, although our adapter does support the latter. M.2 SATA conversion cards (adapters) require an SATA connection or controller, however.
There are two primary ways to get NVMe support, including boot support, on your old system. The first is to use a software workaround, more specifically an EFI bootloader that can do UEFI emulation. The most common is Clover which is powerful but might not be the best solution for everyone. There are other bootloaders and, for that matter, boot managers like rEFInd, that can be useful for multi-booting and other workarounds. It's not uncommon for people to combine these with bootable drive makers like Rufus. The other workaround is more permanent and is the better way to go for a total solution, but carries higher risk.

Clover EFI bootloader. Source: Clover.
This method requires modification of the UEFI/BIOS to add NVMe support, specifically NVMe boot support. Essentially this requires inserting an NVMe support module into the firmware update file. Motherboards have limited amounts of memory so this can require additional effort in some cases, with the basic idea being to use compression and thinner code to get the module or file as small as possible. In any case, it's possible to mod a great number of older chipsets for motherboards to accept NVMe drives with a similar process, although different chipsets require different tools. Other things may be modded, but we're looking at NVMe storage today.
The full explanation was originally given on the Win-Raid Forum by board guru Fernando and can be found here. If your motherboard or chipset is at all popular, it's likely someone has already made a modified UEFI/BIOS for it. It's important to check your motherboard model and the board revision to find a match. In some cases, the motherboard manufacturer may have put out an update to support NVMe. Even if they did not, you will need access to the newest firmware revision if you wish to modify it yourself, and simply knowing the firmware version can help you find already-existing, modified versions. It's worth double-checking every step along the way to make sure you find the right match.

MMTool window. Source: Win-Raid.
Once you know your motherboard model, revision, and possible range of firmware revisions, you can search the linked thread, links within the thread, or Google at large - many users have made YouTube videos or forum posts to share their modification. If your motherboard has a dual BIOS feature, it's usually not too big of a risk to try and flash. Always make sure to back up your system and read your system's BIOS manual first in case recovery is needed, and to know the process inside and out. If the process is successful, your NVMe SSD should display in the UEFI, for the Windows Installer, the OS, etc. Keep in mind you still need to avoid any potential PCIe slot conflicts if using an NVMe to PCIe adapter and the OS has to support NVMe natively.
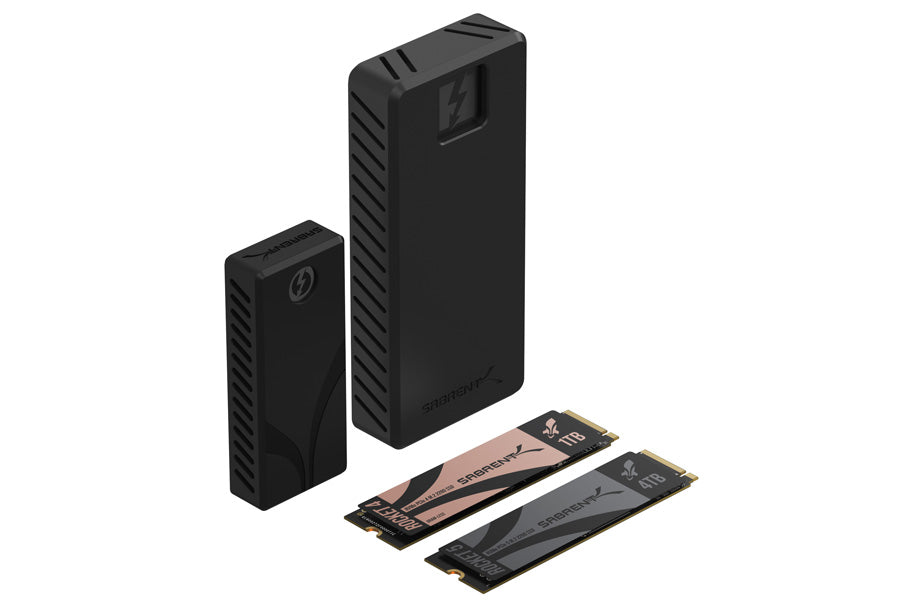
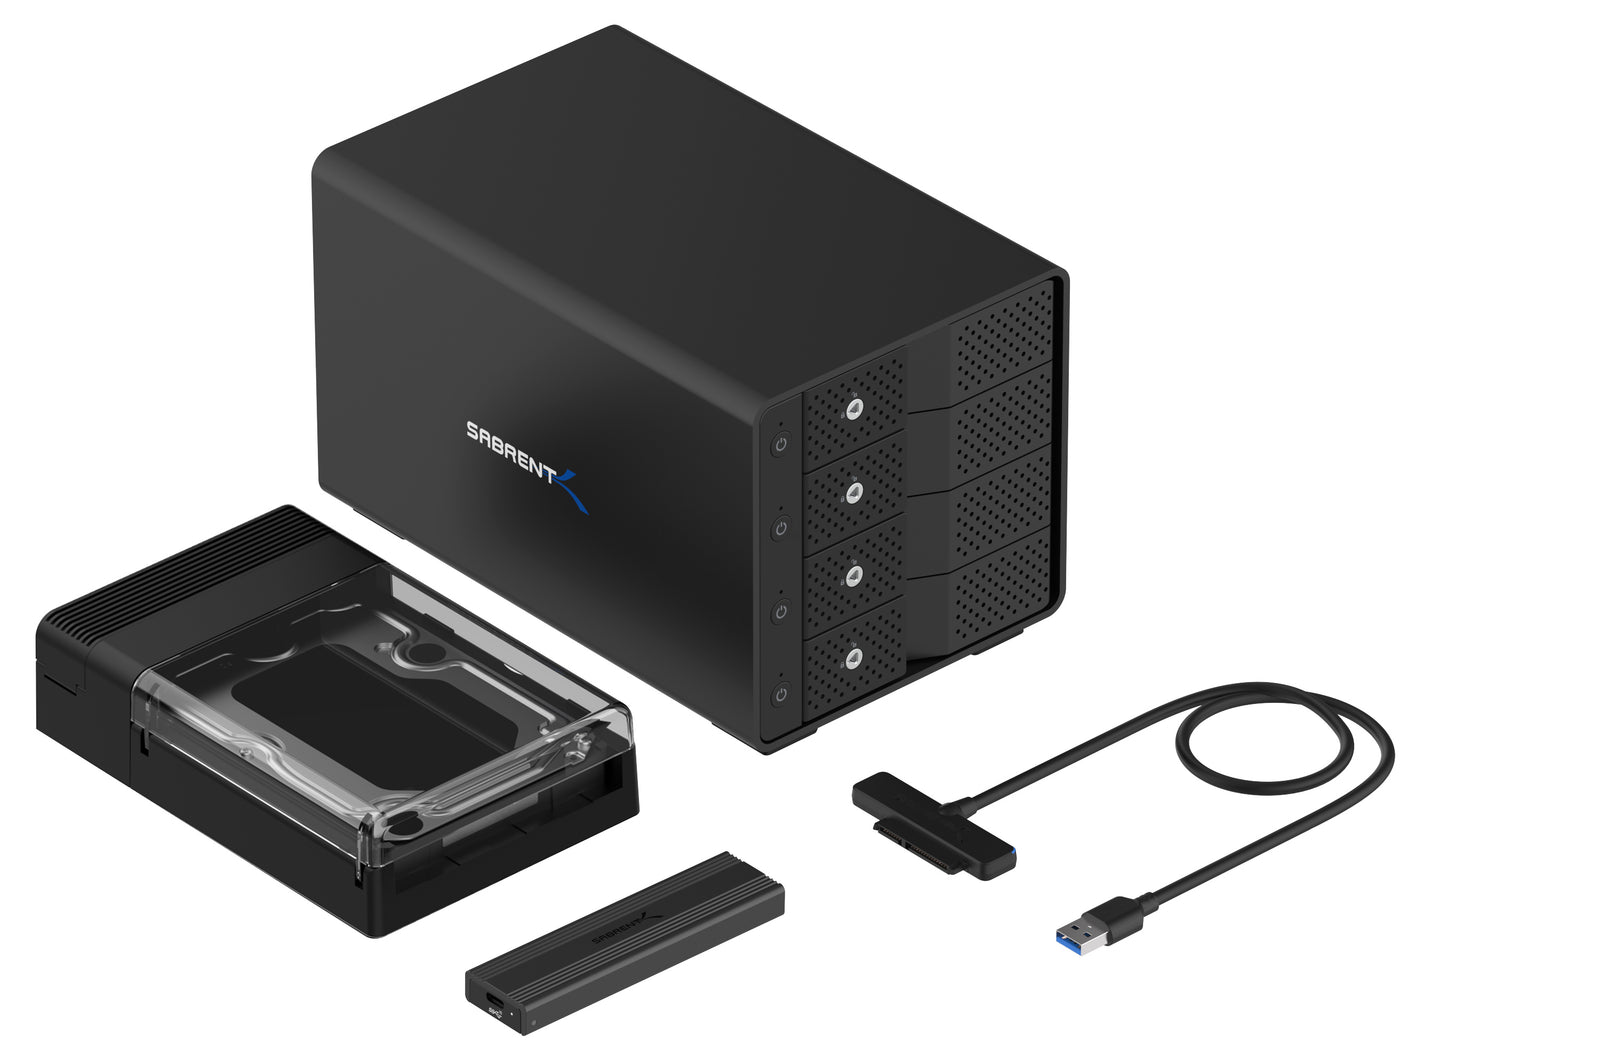
We do recommend our SSDs if you're planning on adding an NVMe drive to your system. If you need cooling or need to use the drive externally, we have you covered there, too, with adapters and external SSDs as well. If you really want to revitalize that old system with a fast NVMe drive, you can do it - just take your time and be thorough, and you'll have a snappy system in no time.

